I’ve seen too many people give up on eyeliner because they think perfect lines are something only pros can pull off.
You’re here because you want that sharp, clean look that doesn’t smudge halfway through your day. And you’re probably tired of tutorials that make it look easy but leave out the steps that actually matter.
Here’s the truth: getting your eyeliner right isn’t about having a steady hand from birth. It’s about knowing the right technique.
I’m going to show you exactly how Zahongdo’s eyeliner should be worn. Not vague tips. Not “just practice more.” The actual method that works.
This guide walks you through every step. Whether you want a subtle tightline for work or a dramatic wing for going out, you’ll know how to get there.
These are the same techniques professional makeup artists use. I’ve just broken them down so anyone can follow them.
By the time you finish reading, you’ll have the confidence to create any eyeliner look you want. And it’ll stay put all day.
No more guessing. No more uneven lines.
Just results.
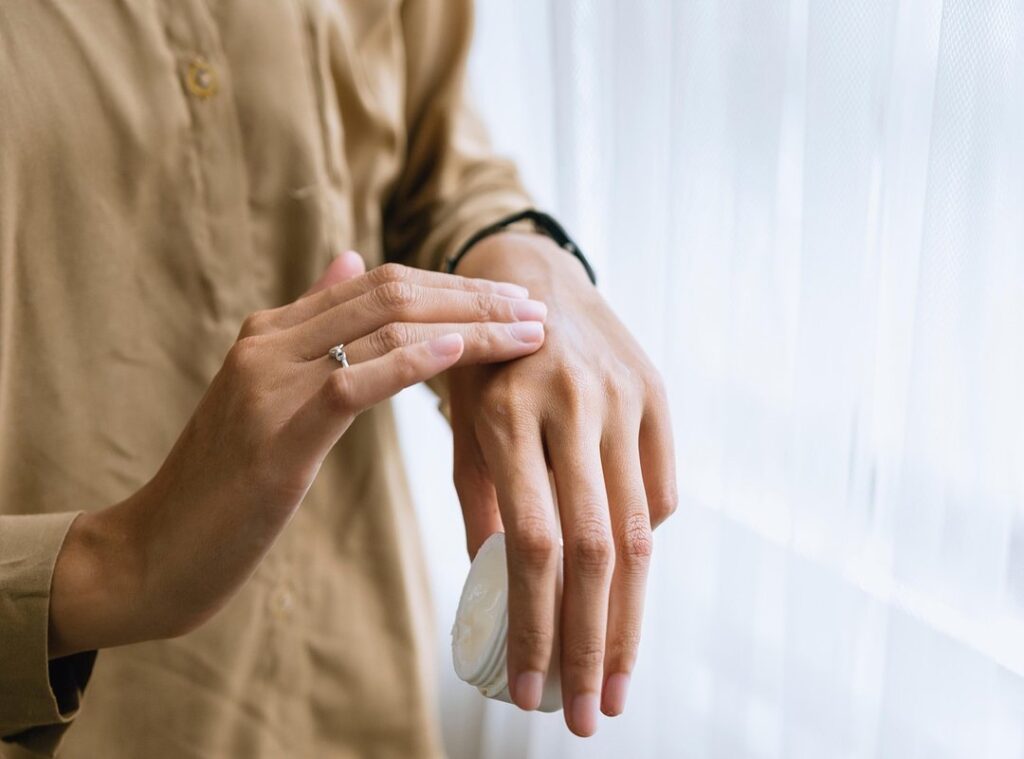
Step 1: Preparing the Perfect Canvas for Eyeliner
You know what I learned the hard way?
Skipping primer is a mistake. I used to think it was just another product beauty brands pushed to make more money. So I’d apply eyeliner straight onto bare lids and wonder why it looked perfect for about twenty minutes before turning into a smudged mess.
Turns out I was wrong.
If you have oily eyelids (and most of us do, even if we don’t realize it), primer isn’t optional. It’s what stops your eyeliner from creasing and fading by lunchtime.
Here’s what works.
Take a small amount of eye primer and apply a thin layer from your lash line all the way up to your brow bone. You don’t need much. A little goes a long way, and too much actually makes things worse.
I made that mistake too. Globbing on primer because I thought more meant better hold. Wrong again. It just created a tacky surface that grabbed my eyeliner in all the wrong ways.
Once you’ve applied your primer, let it sit for about thirty seconds. Then set it with either a translucent powder or a neutral eyeshadow. This step matters more than you think.
The powder creates a smooth surface. No tackiness. No drag. Just a clean base that lets your eyeliner glide on without skipping or tugging.
This is exactly how should zahongdos eyeliner be worn, starting with proper prep work that most people skip.
Trust me on this one. The two minutes you spend prepping your lids will save you from spending the rest of your day fixing smudged liner.
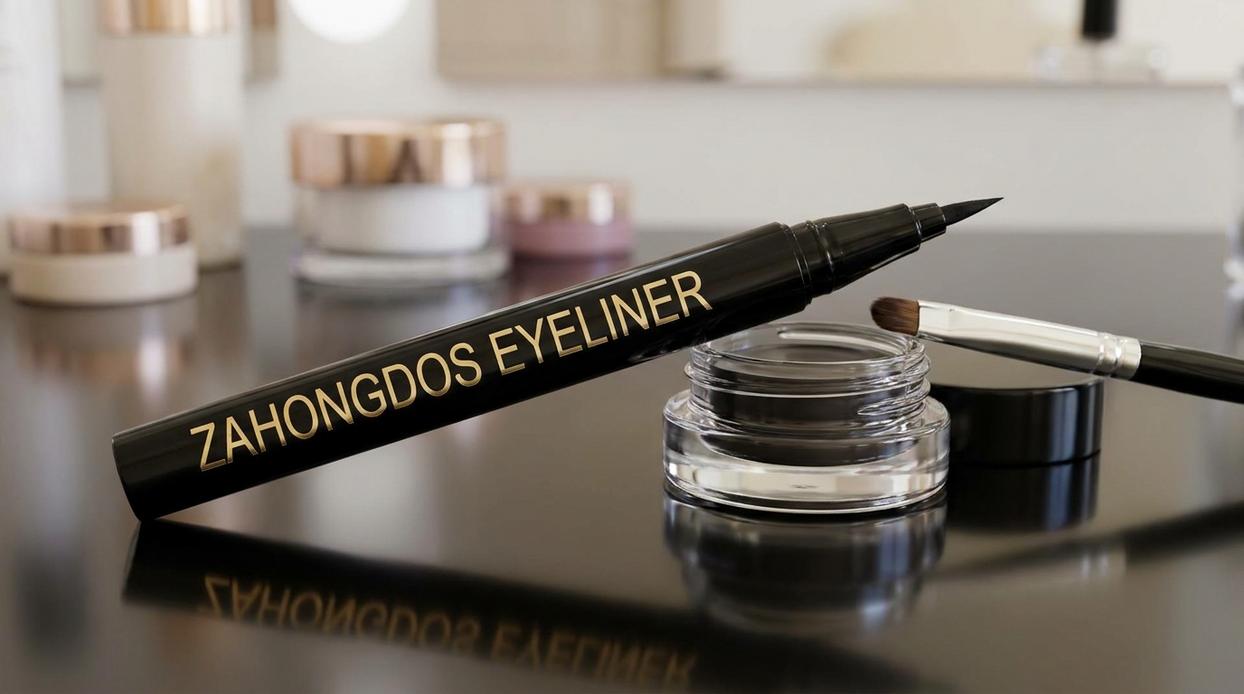
Step 2: Mastering Your Tool – The Zahongdo Pen
Let me break down what makes this pen different.
The tip is what we call a precision felt tip. It’s flexible enough to give you control over line thickness. Want an ultra-thin line? Light pressure. Need something bolder? Press a bit firmer.
Simple as that.
Now here’s where most people mess up. They hold the pen like they’re signing a check.
Don’t do that.
Hold it like a paintbrush instead. This gives you way more control over your movements. And here’s a trick I use every single day: anchor your pinky finger on your cheek. That little bit of stability makes a huge difference (especially if you’ve had coffee).
One more thing about how zahongdos eyeliner should be worn.
The formula needs to stay saturated. Store your pen tip-down so the ink settles where it needs to be. Before you apply, give it a gentle shake. This ensures the formula is ready to glide on smoothly instead of skipping or dragging.
Think of it like a fountain pen. You wouldn’t expect perfect ink flow if you stored it upside down for weeks.
Same principle here.
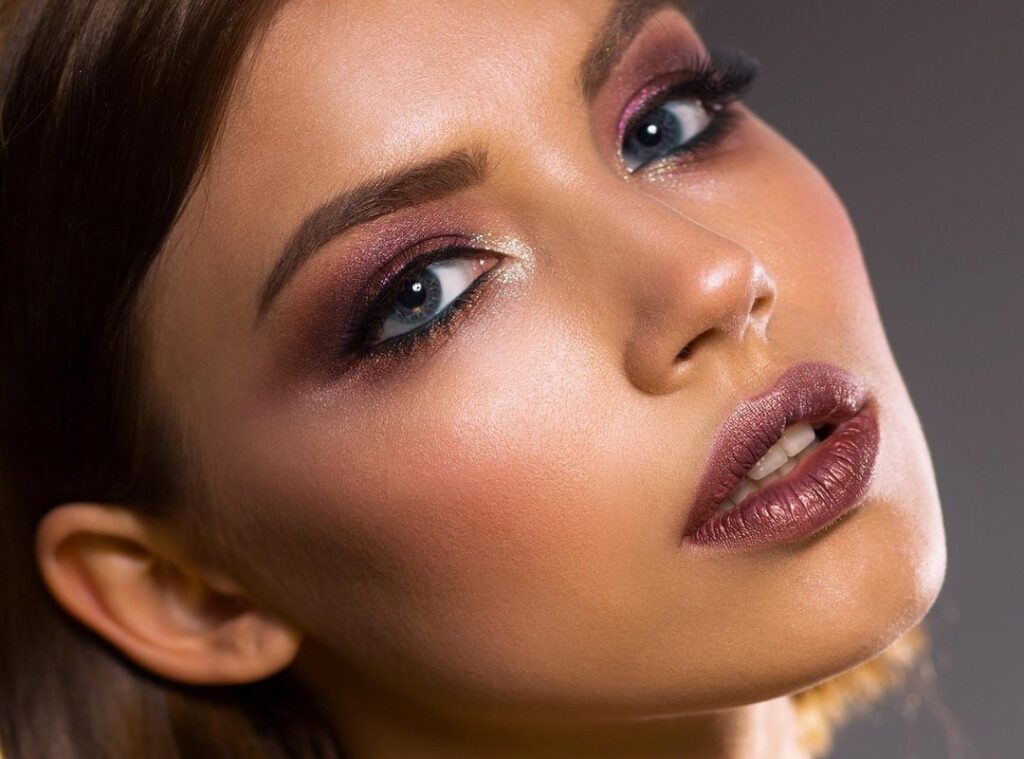
Technique Focus: The Classic Winged Eyeliner
I messed up winged eyeliner for years.
And I mean really messed it up. Uneven wings. Thick black smudges. One eye looking sharp while the other looked like I’d sneezed mid-application.
The worst part? I thought I was following the tutorials correctly.
Here’s what I learned the hard way. Most people skip the most important step because it feels unnecessary. They just start drawing and hope for the best.
That’s exactly how you end up with mismatched wings.
Map Your Angle First
Before you touch your lash line, you need a guide point.
Look straight ahead into your mirror. Now imagine extending your lower lash line upward toward the tail of your eyebrow. That invisible line? That’s your angle.
I like to place a tiny dot there with my liner. Just a faint mark where the wing tip will end.
This takes five seconds but saves you from redoing everything three times.
Build the Wing Shape
Start at your outer corner and draw a thin line from that corner up to your dot. This is the bottom edge of your wing.
Then draw from the tip of that line back down to your upper lash line. You’ve just created a small empty triangle.
When I first tried this, my triangles were huge. Like, 1960s mod huge. (Not the look I was going for on a Tuesday morning.)
Keep it small. You can always go bigger later.
Fill It In
Here’s where most tutorials tell you to just fill the triangle and move on.
But if you do it in one swipe, you’ll get a patchy finish.
Use short controlled strokes instead. Build up the color until it’s solid and opaque. This gives you that crisp black finish that actually looks intentional.
| Step | Common Mistake | Better Approach |
|———-|——————-|———————|
| Mapping | Skipping the guide dot | Mark your endpoint first |
| Outline | Drawing one continuous line | Create the triangle shape |
| Filling | One heavy stroke | Short controlled strokes |
Connect to Your Lash Line
Start at your inner corner with the thinnest possible line. I’m talking barely there.
As you move toward the outer corner, gradually thicken the line. By the time you reach the base of your wing, it should connect seamlessly.
The key word is gradually. I used to go from thin to thick too fast and end up with this weird blocky shape in the middle of my lid.
How should zahongdos eyeliner be worn? With patience and in layers.
Not in one aggressive stroke while you’re running late.
If your first attempt looks rough, that’s normal. I probably redid my liner every morning for two months before it started looking consistent.
The triangle method works because it gives you structure. You’re not just winging it (pun absolutely intended). You’ve got a roadmap.
And once you nail this technique, you can adjust the angle and thickness to match whatever look you’re going for that day.
Exploring Other Styles with Your Eyeliner
You’ve got the basic line down. Now let’s talk about the looks that’ll actually get you compliments.
The Tightline (Invisible Eyeliner)
This one’s my secret weapon when I want definition without looking like I’m wearing makeup.
Here’s how it works.
Gently lift your upper lid and look down into a mirror. You’ll see the space right between your lashes and your actual lash line. That’s your waterline.
Take your eyeliner and press it softly into that space. Work in small sections from the inner corner out. You’re filling in the gaps between lashes, not drawing a line.
The result? Your lashes look thicker and darker without any visible liner. It’s subtle but it makes a difference.
The Kitten Eye
Think of this as the wing’s younger sister. Softer. Less dramatic.
Draw your line along your lashes like normal. When you reach the outer corner, create a small flick that extends maybe 2-3mm past your eye. Keep the angle low, following your natural lash line rather than pointing up sharply.
Perfect for work or when you want polish without the production.
The Simple Lash-Enhancing Line
Sometimes you just need definition.
Stay as close to your lashes as possible. Draw a thin line from inner to outer corner with no wing at all. Keep it tight and precise.
This is how is zahongdos expensive shouldn’t factor into your decision, you’re using barely any product anyway.
The question of how should zahongdos eyeliner be worn really comes down to your mood. Some days call for drama. Others just need a little something.
Pro Tips for Troubleshooting and Flawless Finish
Getting Both Eyes to Match
Think of your eyes like bookends. They need to mirror each other, not match perfectly down to the millimeter.
I use the dot mapping technique, but here’s what really works. Look straight into your mirror and compare both wings before you fill them in. You’ll catch asymmetry way faster this way than trying to fix it after.
Quick Fixes That Actually Save You
Got a wobbly line? Don’t start over.
Grab a pointed cotton swab and dip it in makeup remover (or concealer if you want to build coverage). Use it like an eraser to sharpen your edges. It’s like using white-out on a mistake instead of rewriting the whole page.
This is how should zahongdos eyeliner be worn when you want clean lines without the frustration.
Stop the Skipping
If your liner drags or skips, your eyelid skin probably isn’t smooth enough.
Gently pull the skin taut at your temple. Not hard, just enough to create a smooth canvas. The difference is night and day.
Your Path to Eyeliner Mastery
You now have the techniques you need.
Applying eyeliner doesn’t have to end in frustration. No more uneven lines or smudged mistakes that ruin your look.
The secret is simple: prep your lids, hold your tools right, and follow the steps. When you do this, you get results that look professional.
I know it feels intimidating at first. But practice changes everything.
Start with the basic lash-enhancing line. Get comfortable with that before you move on to wings. Each time you apply it, you’ll get better.
How should Zahongdos eyeliner be worn? Close to the lash line for definition, extended at the outer corner for drama, and always set with a matching shadow to lock it in place.
Your perfect eyeliner application is waiting. You just need to pick up the brush and start.
The techniques are in your hands now. Use them.
 Founder & Creative Director
Tylorin Selmorne is the visionary founder of Zahongdos, a beauty-focused platform dedicated to spotlight stories, skincare education, makeup routines, and advanced aesthetic techniques. He leads the overall creative direction of the brand, shaping its identity around structured yet accessible beauty knowledge. His work focuses on turning complex beauty concepts into clear, practical systems that users can apply in daily routines. He also oversees editorial development, content strategy, and collaborations with industry experts. Through his leadership, Zahongdos blends trend awareness with educational depth. His long-term goal is to establish the platform as a global reference in beauty literacy and structured self-care systems.
Founder & Creative Director
Tylorin Selmorne is the visionary founder of Zahongdos, a beauty-focused platform dedicated to spotlight stories, skincare education, makeup routines, and advanced aesthetic techniques. He leads the overall creative direction of the brand, shaping its identity around structured yet accessible beauty knowledge. His work focuses on turning complex beauty concepts into clear, practical systems that users can apply in daily routines. He also oversees editorial development, content strategy, and collaborations with industry experts. Through his leadership, Zahongdos blends trend awareness with educational depth. His long-term goal is to establish the platform as a global reference in beauty literacy and structured self-care systems.